Repairing Windows does feel nerve-wrecking at times: stakes are high and so much is hanging in the balance (your Windows installation, your data, your precious time).
The apparent simplicity of the Windows 10 interface completely belies the power hidden underneath its understated elegance. You can frequently, even though not always predictably, recover the seemingly unrecoverable.
Here is a quick guide on how you can restore a Windows system to a bootable state as quickly as possible, and get back to whatever you were doing before all hell broke loose.
How you get started depends on what misfortune has befallen your system (a cursory look at log files can give you an idea as to the root cause).
Repair the file system while it still boots
Your first line of defense should always be a file system repair using Microsoft’s command-line tool chkdsk that’s available on every system. Refrain from using a file system that behaves suspiciously (such as when apps crash or pause for a long time with or without showing a spinning wheel). Writing to a file system that has sustained even minor damage (for example as a result of power failure) can cause some major data corruption as errors compound, so whenever something doesn’t feel right, repair the file system before you do anything else.
Performing a file system repair is easy. If your system boots, right-click on Windows PowerShell and from the pop-up menu that appears, select the command Start as Administrator. For each partition ive that may need repairing, enter this command:
chkdsk /F c:
(remember to replace the drive letter c: if necessary). Do NOT agree to force-unmount any volumes; instead, rebot the system and wait for the process to complete during startup.
Repair the file system when it no longer boots
Should the system fail to start up, you need to find an alternative boot volume in order to repair the file system. The most convenient is a DVD or a flash drive (pluggable via USB), but you may need to be creative (temporarily mounting the drive in another PC as an internal or external drive may be an option for some users).
Step 1. Boot from an alternative media
Start up from an installation media such as a DVD or some other alternative method. Attach the USB drive to the computer or place the DVD in an optical drive and start (or restart) your computer. Follow the onscreen instructions during the boot sequence to start up from the DVD, the USB stick or an alternative media, or enter BIOS (if necessary to change the boot priority).
The computer may restart now, but should boot from the repair media you provided in step 1.
Step 2. Confirm UI settings
The installation media will greet you with the Windows Setup dialog, asking you to confirm the human language to use and some other settings for the graphical user interface. Click Next.
Step 3. Repair, do NOT install!
The next dialog welcomes you to the button “Install now”; do NOT click it! Instead, click on the tiny link in the lower left-hand corner “Repair your computer”.
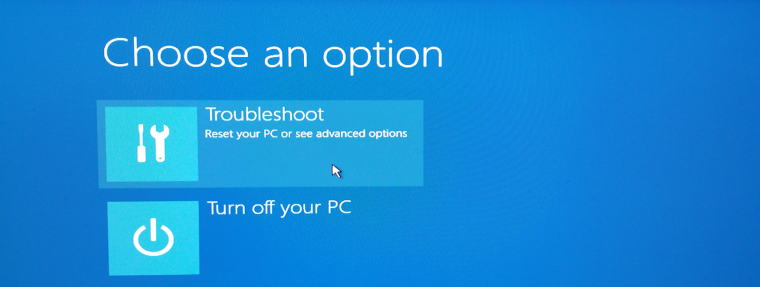
Step 4. Choose an option
On the screen dubbed Choose an option, click on the button labeled Troubleshoot.
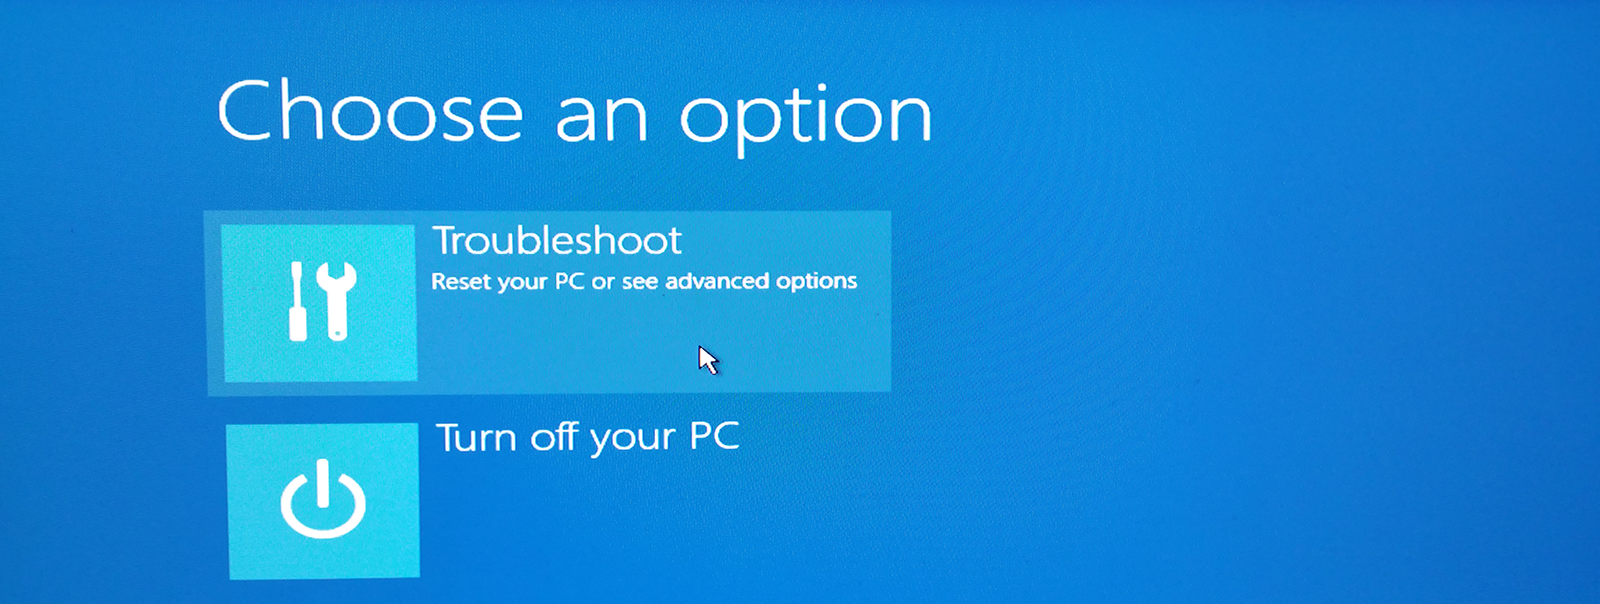
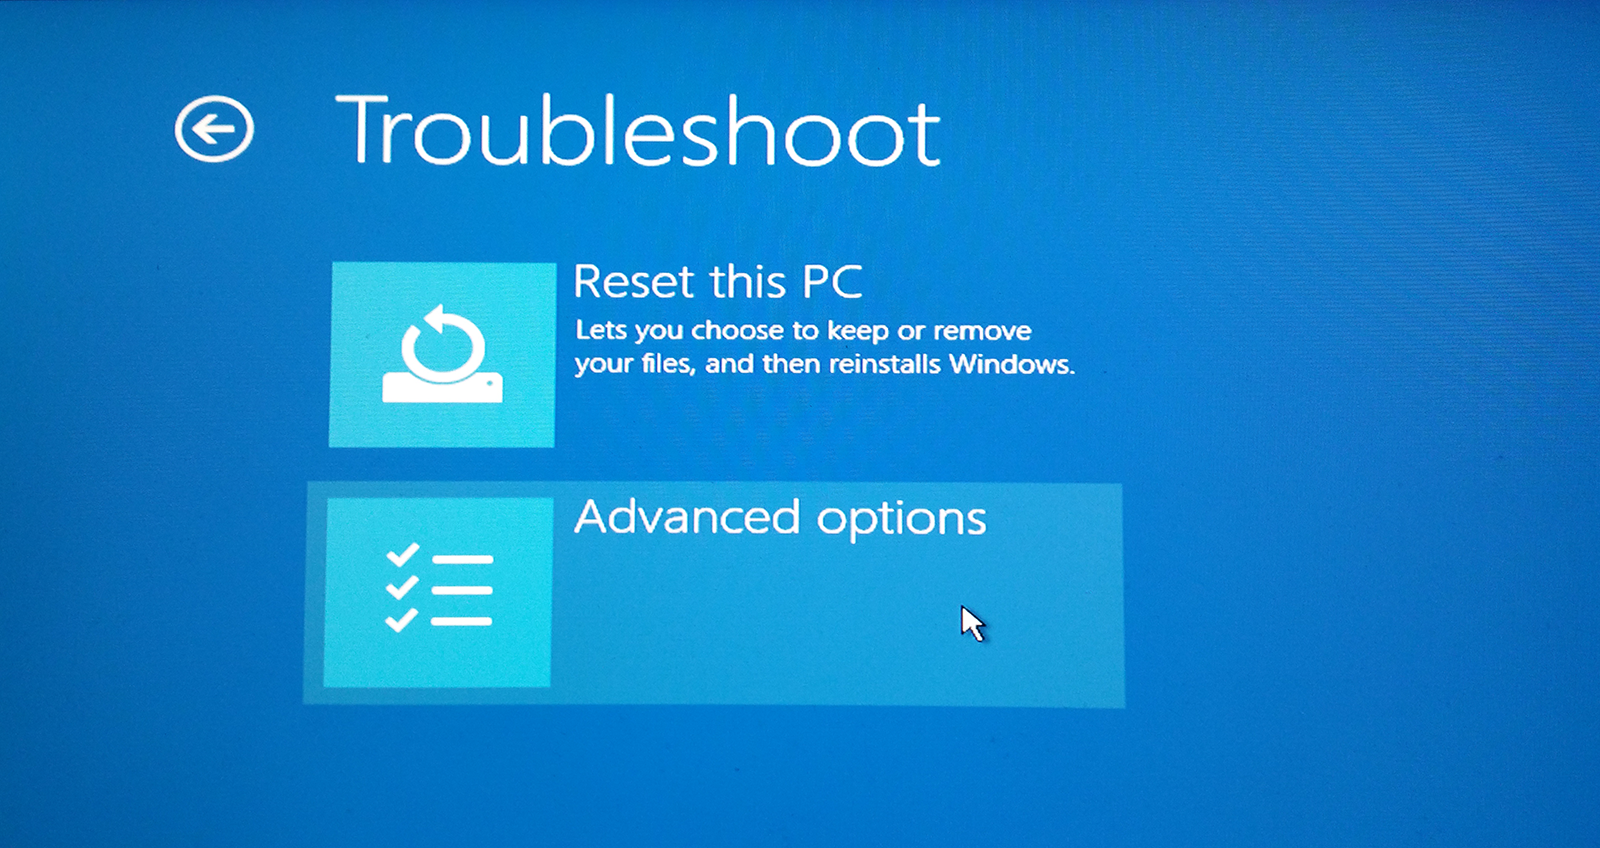
This screen offers you to Reset your PC by re-installing Windows (you may keep your data if you like it) or to enter Advanced options. Always choose the latter one first.
Step 5. Advanced options
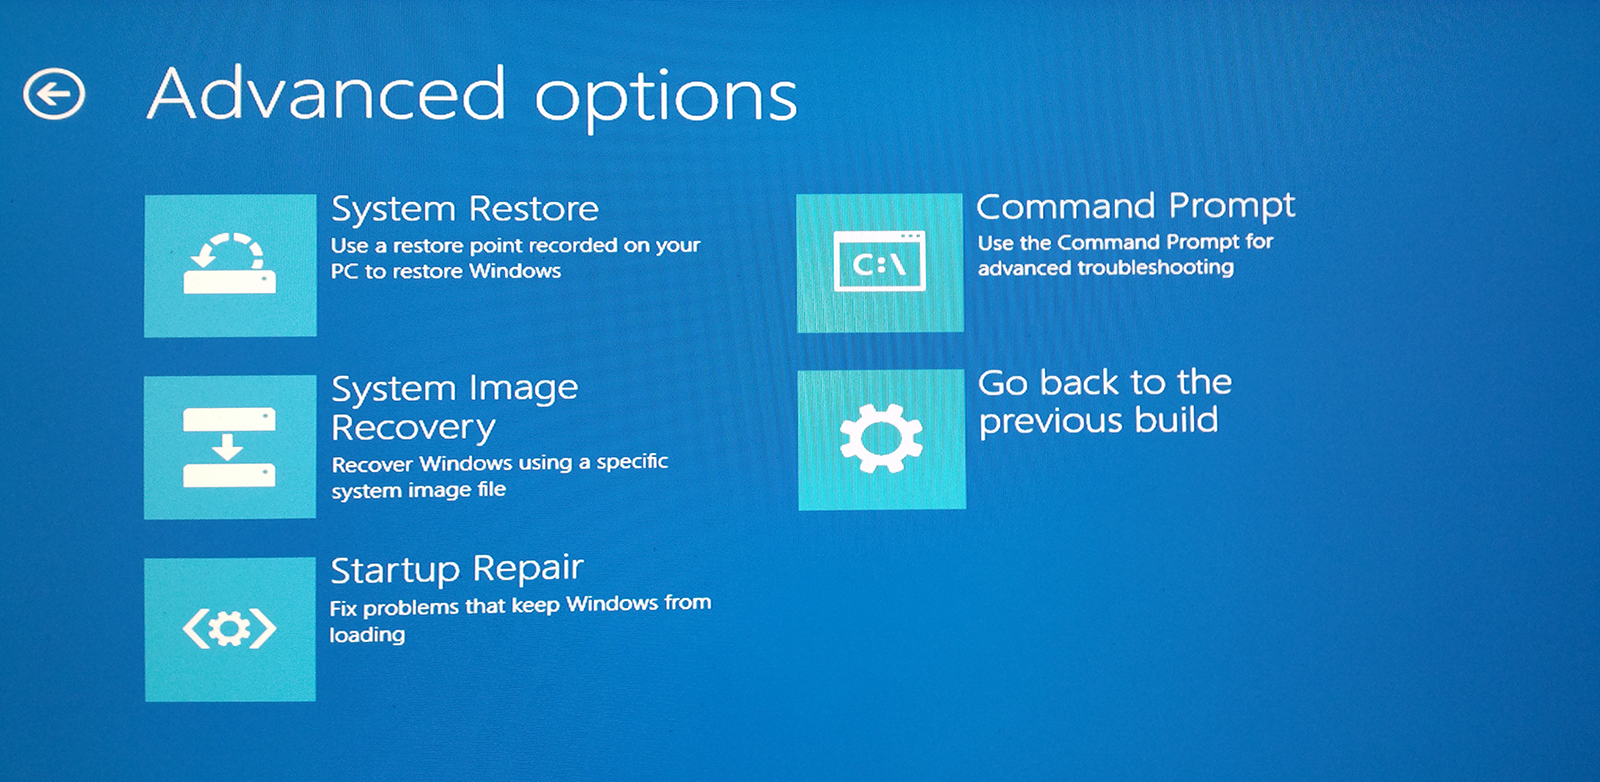
On the screen labeled Advanced options, click on Comand Prompt.
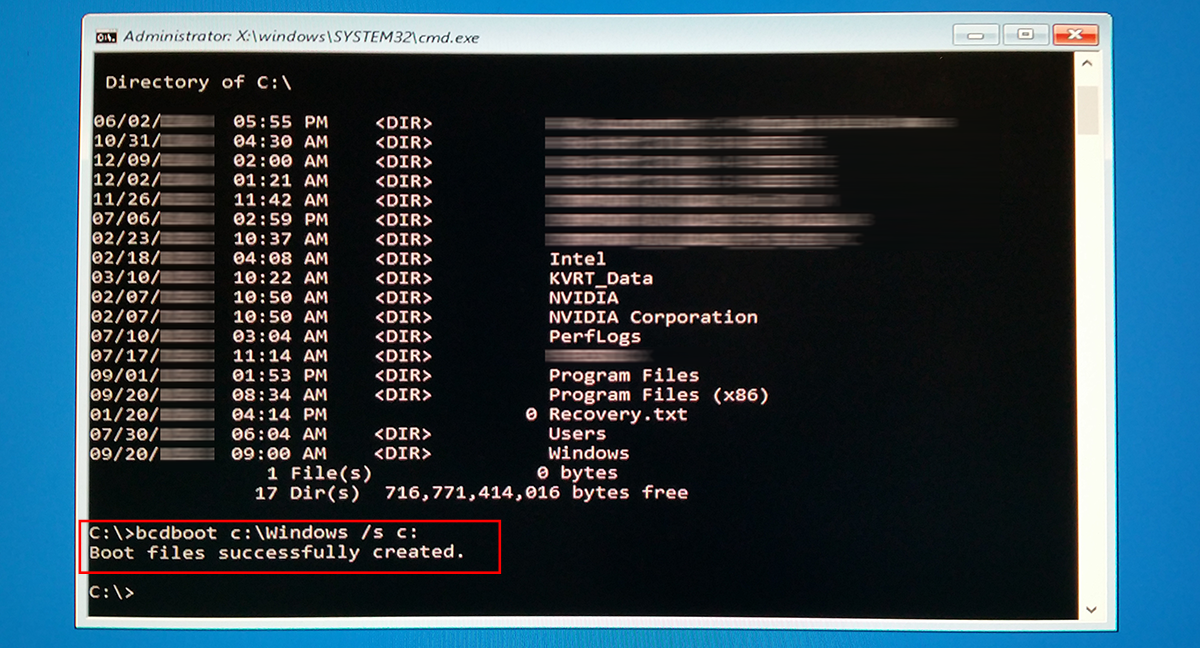
This will grant you access to the command line as administrator. Remember, you are booting from an alternative system so the drive letters have changed! When in doubt, navigate to the drive you want to view by entering its letter followed by a colon:
d:
and list its contents:
dir
Step 6. Repair the drive
In order to repair the file system on a disk, enter:
chkdsk /F c:
and wait for it to complete disk verification, then repeat for each of the other disks. This may already suffice to motivate your system to repair itself upon reboot and fix the remaining issues if any. If you want to try this, close the window and reboot.
Step 7. Restore to a saved state or recover from a system image
Windows 10 offers you three other repair techniques worth trying (all three are found in the Advanced options). You can perform:
- system restore to a previously created restore point (if you are lucky to have created one);
- system image recovery using a system image file
- startup repair.
But what if you don’t have a restore point or a system image to recover from, and startup repair fails repeatedly? You can still try some command line magic.
Step 8. Recreate the \boot folder
If nothing seems to work, you may still be able to restore your operating system to a bootable state by asking Windows to recreate its \boot folder (one of the most vulnerable locations). A command line utility called bcdboot can do the trick (and also perform some other repairs).
Assuming that the damaged system was mapped to drive letter c:, enter this command:
bcdboot c:\Windows /s c:
Make sure that you replace the drive letter (c: twice in that single line) with the drive letter corresponding to the system partition you want to repair.
Reboot from the repaired drive.
Now why don’t you create a restore point, if not a full backup…
Related: How to make Windows faster. The top easiest ways to boost the performance of any PC.
[…] If your computer is giving you a hard time with persistent crashes and the like, you may need to perform some repairs such as restoring the boot directory. Here is how to do this: How to Repair Windows 10 to a State of Sparkling Awesomeness: Recover from Crashes, Restore, and Reb…. […]